Blog / Cake Pop Tips and Tricks

Cake Pop Tips and Tricks

Share with your friends. Country Kitchen SweetArt Facebook Share via PInterest Country Kitchen SweetArt Twitter Share Share via email print page
Are you ready to dive into the world of cake pops? We have curated the best tips and tricks from our in-house cake pop pros. These tried-and-true tips will make the whole cake pop making experience a piece of cake (pun intended). Whether you're a beginner looking to learn the basics or a seasoned pro searching for some new techniques, this blog is your one-stop for all things cake pops.
pink cake pops with a scoop and cake pop mold

History of the Cake Pop

Around 2005 some cake decorators from a popular decorating message board, Cake Central, were looking for ways to use up their cake scraps. They came up with a delicious treat known as cake balls. They ingeniously combined their cake scraps with a binder (usually buttercream icing), shaping the mixture into balls and coating them in chocolate.

The birth of the cake pop came about in 2008 when Angela Dudley, a popular blogger known as Bakerella, had a creative idea to take the cake ball and put it on a lollipop stick. From that moment on, her cake pop became a sensation! Bakerella's blog featuring her innovative designs quickly gained popularity and the trend took off. Today, you can find cake pops everywhere, even at Starbucks.

Tips for Making Cake Pop Dough

You can use any type of prebaked cake to create cake pop dough, whether it is from scratch, or a box cake mix. When it comes to crumbling the cake, there are two popular methods: by hand or using a stand mixer with paddle attachment. Crumbling the cake by hand gives you more control over the texture of the dough, while using a mixer can save you time and creates a smoother dough. Ultimately, which method you choose is a matter of personal preference.

When it comes to mixing the cake crumbs with a binder, like frosting, there is no set amount to add. The ideal quantity of binder depends on the moisture content of your cake. To start, add a small amount to your cake crumble and gradually increase until the mixture holds together. Keep in mind that you can always add more, but once you add too much, it's challenging to fix. Once there are no lumps or signs of frosting it is time to test your dough.

The dough should be moist and pliable, but not too sticky. You can test the consistency by rolling a small portion of dough into a ball - it should hold its shape without crumbling or cracking. The dough should not stick to your hands and have a texture similar to play doh when ready.

cake crumbled into bowl to make cake pop dough cake crumbled into bowl with icing to make cake pop dough mixing cake pop dough by hand testing cake pop dough Some binder options:
  • Homemade Buttercream Icing
  • Canned Frosting
  • Flavored Coffee Creamer
  • Cream Cheese
  • Melted Chocolate
  • Liquor
  • Lemon Curd or Pastry Filling
  • Cold Coffee
  • Peanut Butter or Nutella
  • Water, Juice, or Soda

No Binder? No Problem!

If you don't have a binder on hand or prefer to create cake pops without using one, here's a handy trick. Simply use a mixer to blend a freshly baked cake while it's still warm. The steam from the hot cake will create enough moisture to bind the crumbs together, forming a perfect dough.

Just Add Sprinkles

    Creating a funfetti cake pop is easy if you start with a white or yellow cake and incorporate sprinkles into your dough. To achieve the best results, opt for jimmies as they work perfectly for filling your cake pops with sprinkles. It's important to note that other types of sprinkles, such as nonpareils, may bleed their color into the dough. We love adding jimmies in colors that match the occasion (blue and pink jimmies for a gender reveal or school colors for graduations). Shop our huge selection of jimmies in every color!

    adding sprinkles to cake pop dough

Tips for Shaping Your Cake Pops

Once you have your dough ready, it's time to shape and form them into beautiful pops. There are two popular methods that you can use to achieve this: using a cookie scoop or using a mold.

Cookie Scoop Method

Using a cookie scoop is a quick and easy way to portion out equal amounts of dough for each cake pop. Simply scoop the dough, level it off with the edge of the scoop, and gently release it onto a lined baking sheet. This method is great for creating uniform-sized cake pops. A one tablespoon cookie scoop will create a standard sized cake pop (1.5" diameter once dipped). Once portioned out you can begin rolling. Apply firm pressure while initially rolling to eliminate any cracks and to achieve a smooth surface. You want to compress it into a tight ball. As the ball begins to take shape, reduce the pressure, and focus on creating a perfectly round shape.

using a cookie scoop to make cake pops a rounded cake pop

    Using A Cake Pop Mold

    If you prefer a more precise shape or want to create themed cake pops, using a mold is the way to go. There are various cake pop molds available in different shapes and designs, such as circles, hearts, animals, and more. Fill the mold with the dough (slightly more than needed), press it down firmly, and remove any excess. Once the dough is compact, gently remove it from the mold and smooth any seems.

    making a cake pop using a cake pop mold

How to Keep Cake Pops Round

To prevent your perfectly round cake pops from flattening as they sit use a cake pop resting tray. Place fresh rolled or molded cake pop dough in the tray while resting.

adding rounded cake pop dough to cake tray adding rounded cake pop dough to cake tray

Cake Pop Video Tutorial

Common Issues with Cake Pop Sticks and How to Solve Them

When it comes to adding cake pop sticks, there are often two issues that people encounter: cake pops falling off the stick and greasy sticks. But fear not! We have some simple solutions to help you overcome these challenges.

Preventing Cake Pops from Falling Off the Stick

To ensure that your cake pops stay securely on their sticks, it's important to take a simple precautionary step. Before inserting the stick into your cake pop, dip it into melted chocolate. This creates a strong foundation that will keep your cake pops from sliding off the stick. Give the chocolate enough time to fully set before you start handling your cake pops, as this will ensure a secure attachment.

adding chocolate to cake pop sticks adding cake pop sticks

Avoiding Greasy Cake Pop Sticks

Another common issue is grease stains on cake pop sticks. To prevent this, there's a handy trick you can try. Prep your sticks by pre-dipping them in chocolate and allowing them to set. This creates a barrier that prevents any grease from seeping into your cake pops. Then add another dab of chocolate before inserting into the cake ball.

adding chocolate to cake pop sticks adding chocolate to cake pop sticks adding chocolate to cake pop sticks adding chocolate to cake pop sticks adding cake pop sticks adding cake pop sticks

Video Tutorial

Tips for Dipping Cake Pops

Now comes the fun part - dipping your cake pops in melted chocolate. To achieve a smooth and professional finish, here are some tips to follow. Before you begin, make sure to gather all your supplies. This step is crucial to keep the process running smoothly.

The Best Chocolate for Cake Pops

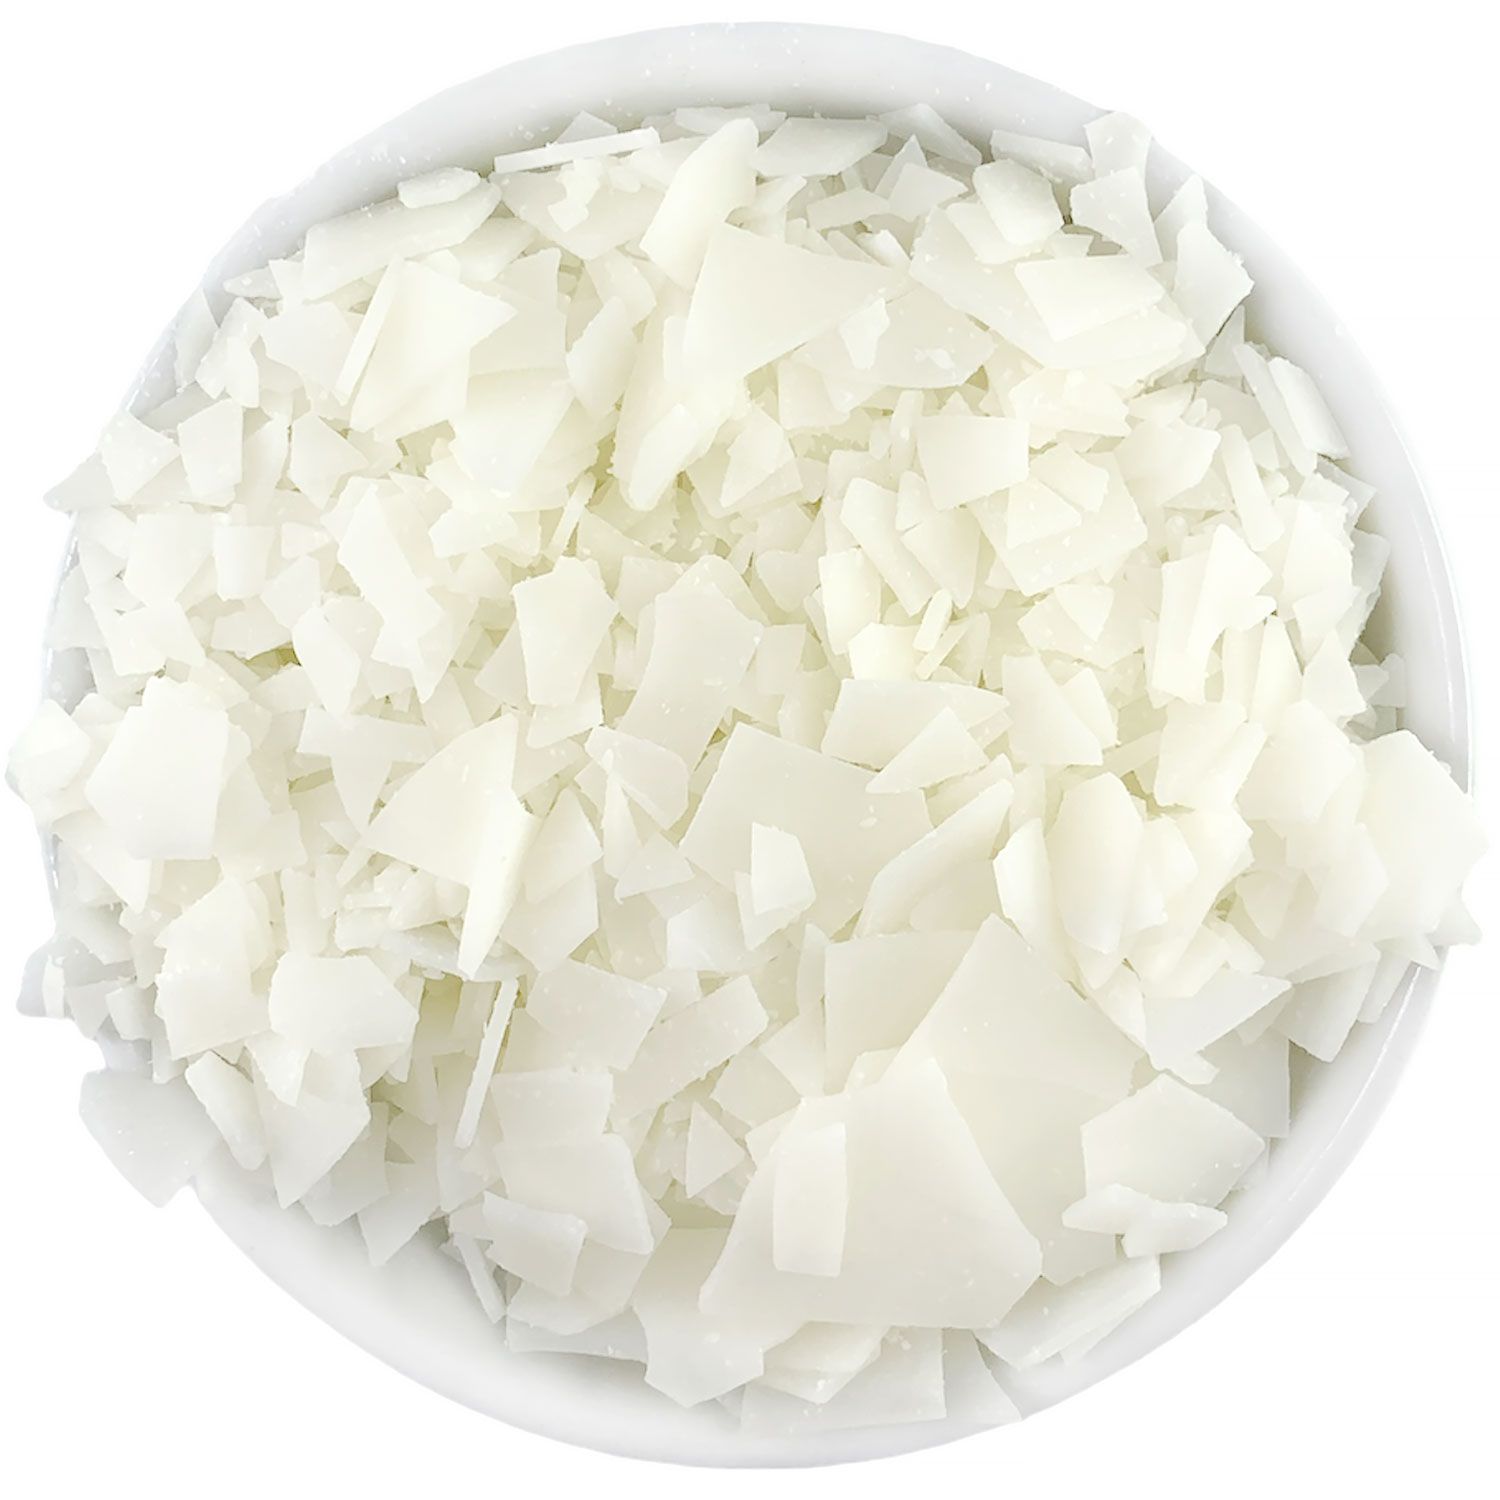
It is important to use the correct type of chocolate. Real chocolate (chocolate that contains cocoa butter) tastes great but must be tempered first. This process can be intimidating, so most prefer using chocolate melting wafers. Chocolate melting wafers (also known as candy melts) are simple to melt and use for dipping cake pops. New to melting chocolate wafers? Learn how by reading our blog all about melting chocolate.

Use Paramount Crystals
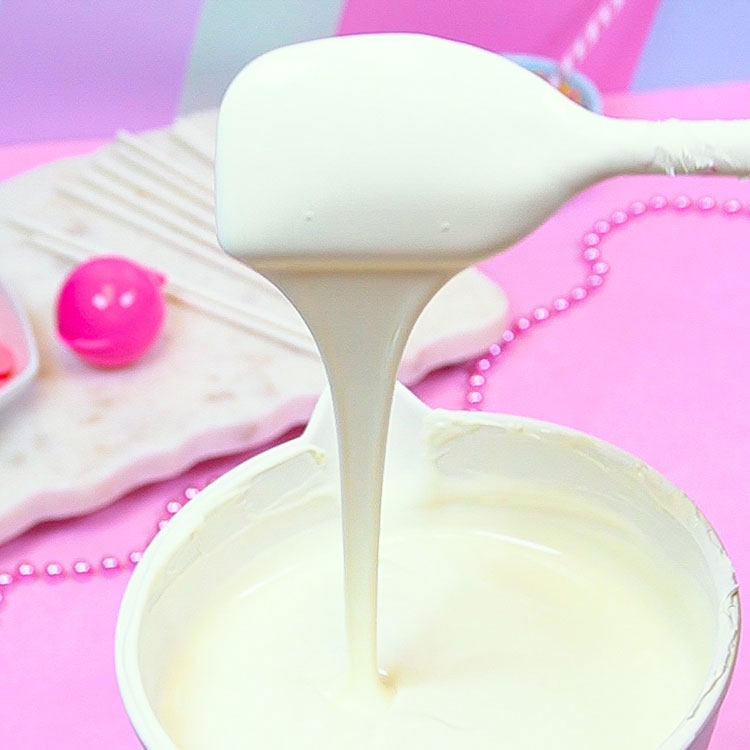
We suggest using paramount crystals in your melted chocolate when dipping cake pops. They ensure your chocolate melts smoothly and the perfect consistency for dipping. It also helps to create a thin, lump-free shell for your cake pops. Paramount crystals do not affect the taste or texture of the finished chocolate like shortening and coconut oil. Start by adding 1-2 tablespoons of paramount crystals per pound of chocolate wafers.

paramount crystals for thinning chocolate perfectly melted chocolate for dipping cake pops thanks to paramount crystals

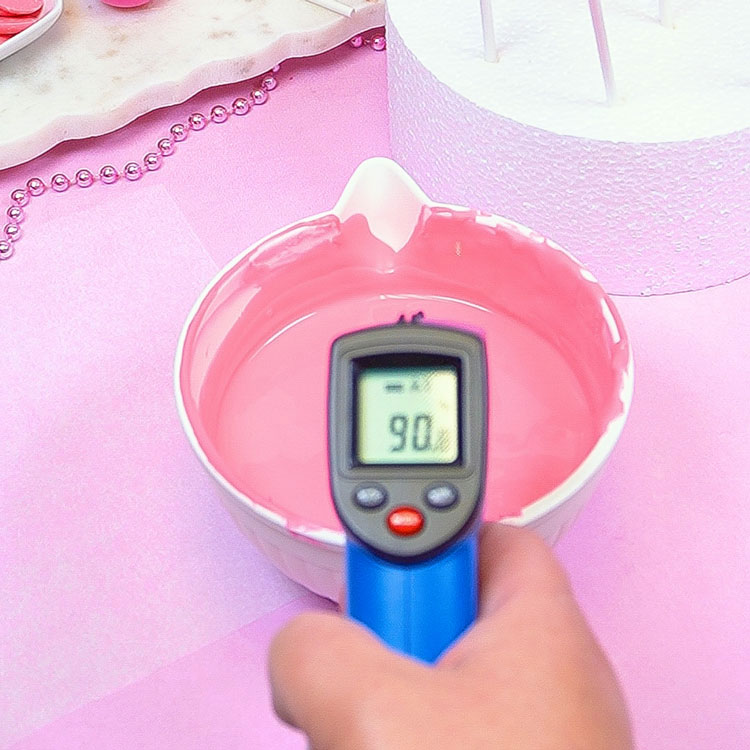
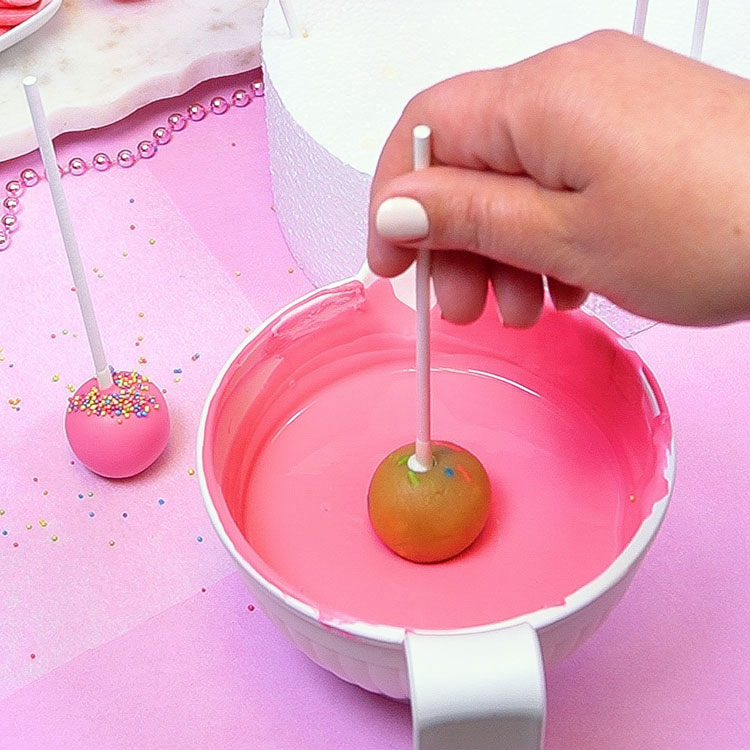
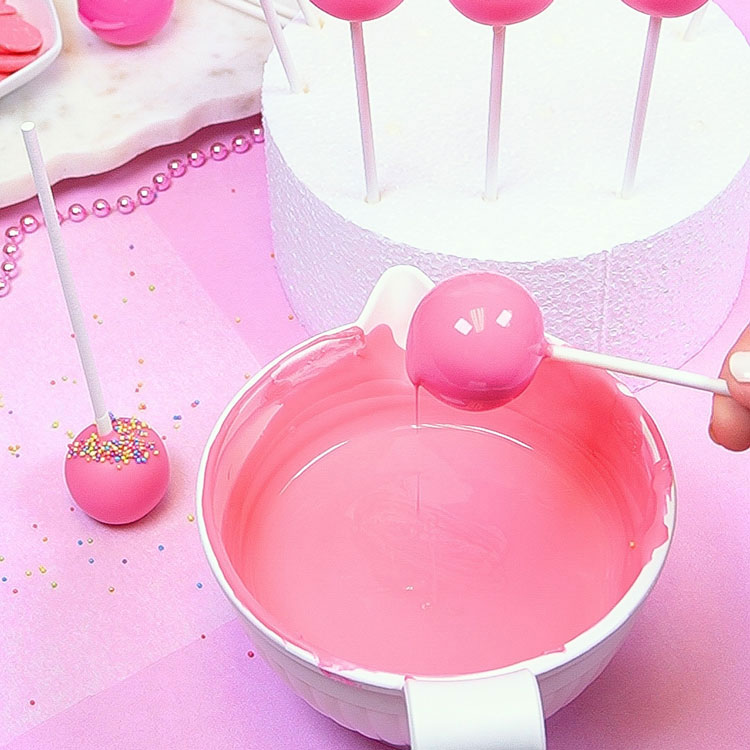
Dip at the Right Temperature

    Achieving the perfect temperature is crucial when dipping cake pops. To ensure a smooth and flawless coating, aim for a temperature range between 88-99 degrees. To easily monitor the temperature, use a thermal thermometer. This handy tool allows you to quickly check the temperature of your melted chocolate, ensuring optimal results.

    using a thermal thermometer to check temperature of chocolate

Achieving Perfectly Coated Cake Pops

Coating your cake pops evenly is essential for a polished and professional look. Follow these steps for a flawless finish:

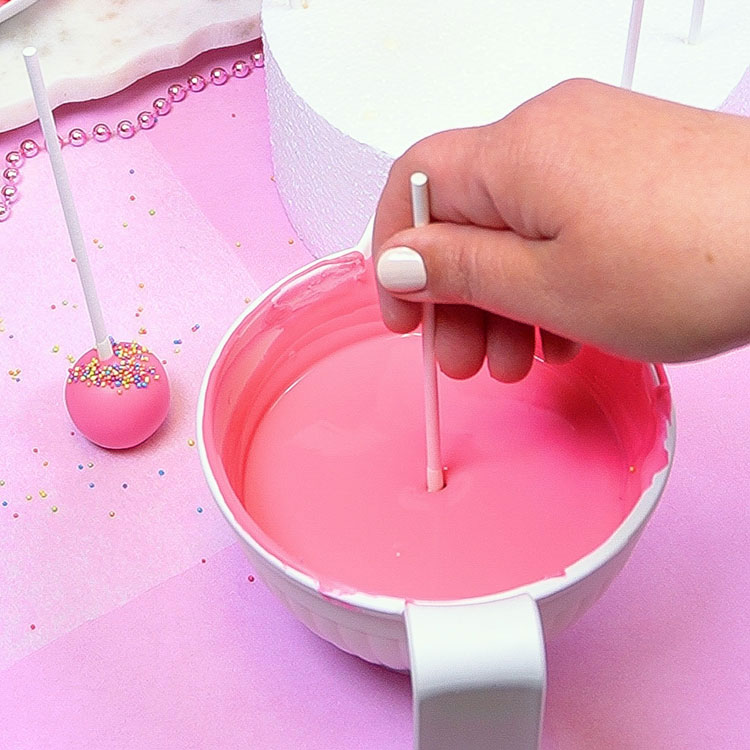
  • Ensure Complete Coverage: When dipping your cake pop into the melted chocolate, take care to fully coat the entire surface. Leaving any exposed dough can lead to unpleasant oil seepage.
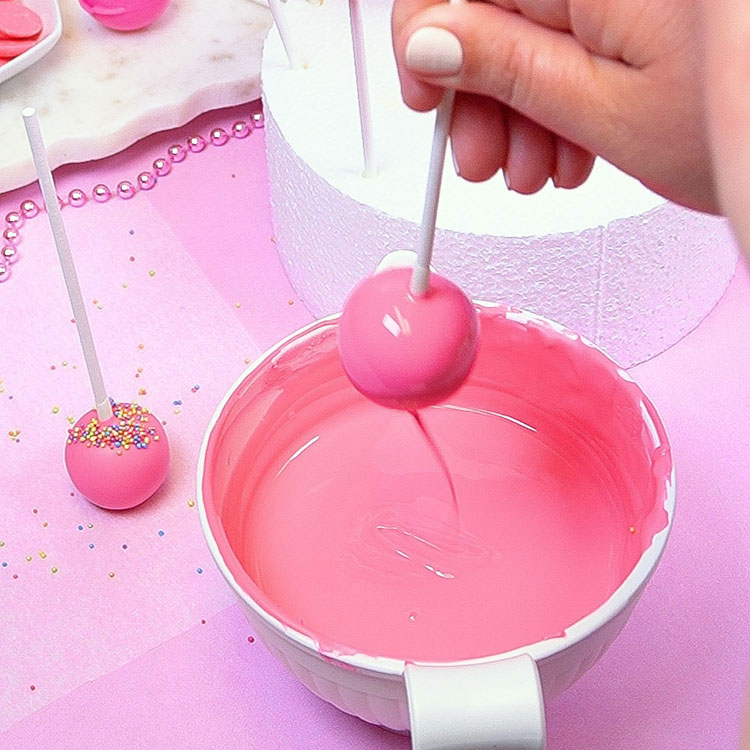
  • Remove Excess Chocolate: After dipping, gently tap the cake pop to remove any excess chocolate. This step helps create a smooth and even coating and prevents dripping.
  • Settle the Coating: Turn the cake pop right side up and at a slight angle. Rotate it slowly to help the coating settle evenly. This technique aids in the even distribution of the chocolate coating, ensuring a consistent look.
By following these simple steps, you can achieve perfectly coated cake pops every time!
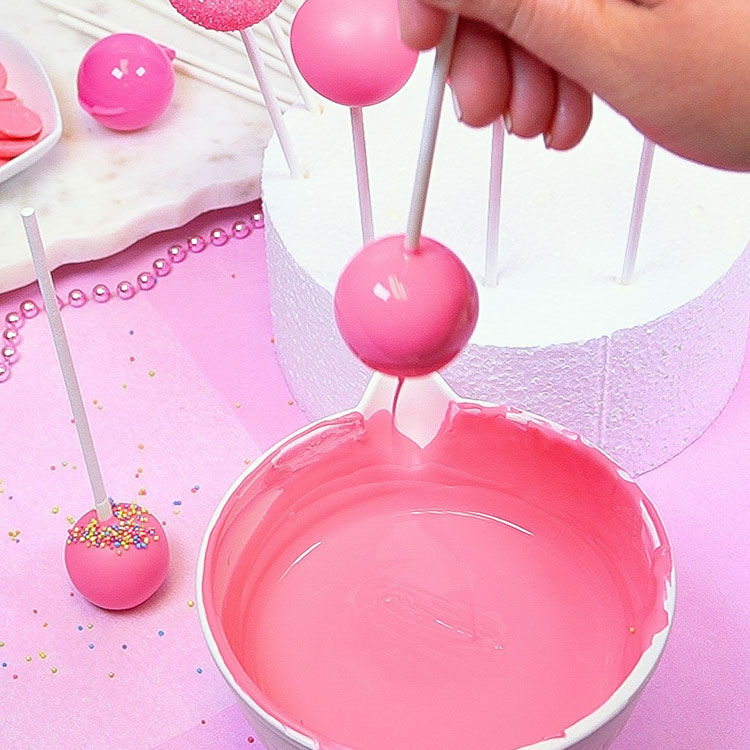
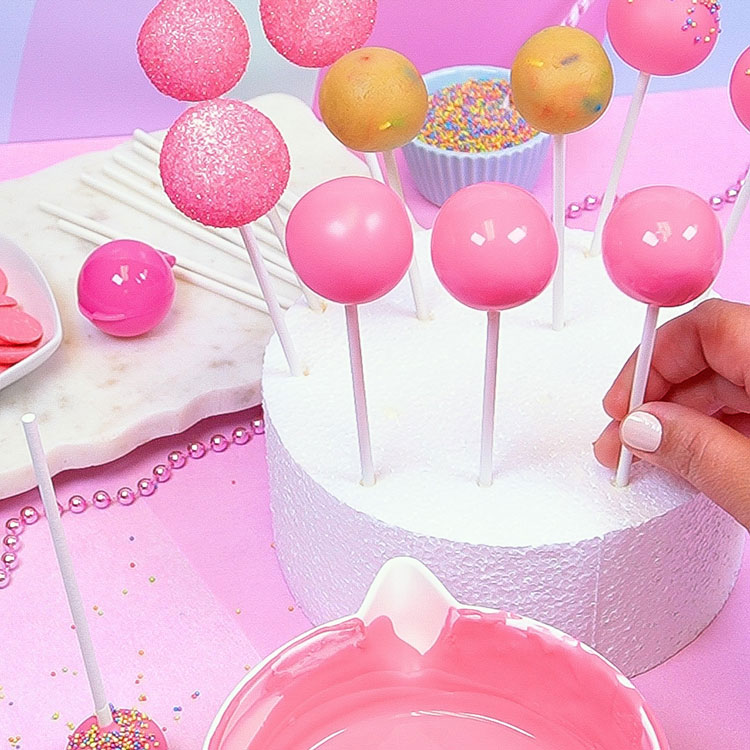
 how to dip a cake pop into chocolate how to dip a cake pop into chocolate how to dip a cake pop into chocolate how to dip a cake pop into chocolate how to dip a cake pop into chocolate how to dip a cake pop into chocolate

Have a Stand Ready

Once dipped, you will want to have a safe resting place for your cake pops while the chocolate is setting. Cake pop stands will prevent your pops from having flat sides or the chocolate from pooling. There are commercial cake pop stands available, but you can also use styrofoam cake dummies in a pinch. They are great for creating display stands for events too!

styrofoam cake dummy used as cake pop stand

How to Prevent Cake Pop Cracking

Have you ever wondered why cake pops develop cracks on their shells? The key lies in temperature control. Cracks occur when there is a significant difference in temperature between the cake pop dough and the melted chocolate used for dipping. You want to try and get the temperatures of both as close to each other as possible. Using a thermal thermometer helps this process. Always start with room temperature dough and melted chocolate that is around 88-90 degrees.

pink cake pop with crack

How to Decorate Cake Pops

three decorated pink cake pops

Here are three classic ways to decorate cake pops that work for any occassion. Watch the video below to see how they were made.

Cake Pop Decorating Video Tutorial

Cake Pop Storage FAQ

How long do cake pops last?

Cake pops last up to a week at room temperature, two weeks in the fridge and 3 months in the freezer. When storing your cake pops make sure they are in an airtight container.

Do cake pops need to be refrigerated?

No, cake pops are fine sitting at room temperature or stored in a dry, cool place. We do suggest refrigerating cake pops if cream cheese has been used as a binder as it is not shelf stable. 

Can cake pops be frozen?

Yes, you can freeze the cake pops up to three months in advance. Make sure they are packaged well to avoid freezer burn.

What is the best way to store or transport cake pops?

The best way to store cake pops is individually wrapped in a 3" x 4" cello bag or unwrapped in an airtight container. To transport, you can place them in a cake box making sure to layer them with bubble wrap to prevent damage.