Blog / How to Melt Chocolate: 4 Easy Ways
How to Melt Chocolate: 4 Easy Ways
Chocolate is a versatile and delicious ingredient that is used in a variety of recipes, from candy making to cakes, cookies, desserts, and sauces. However, melting chocolate can be tricky, as it can easily become lumpy or grainy if not melted correctly. In this blog, we will discuss how to melt chocolate properly so it can be used in all your favorite recipes.
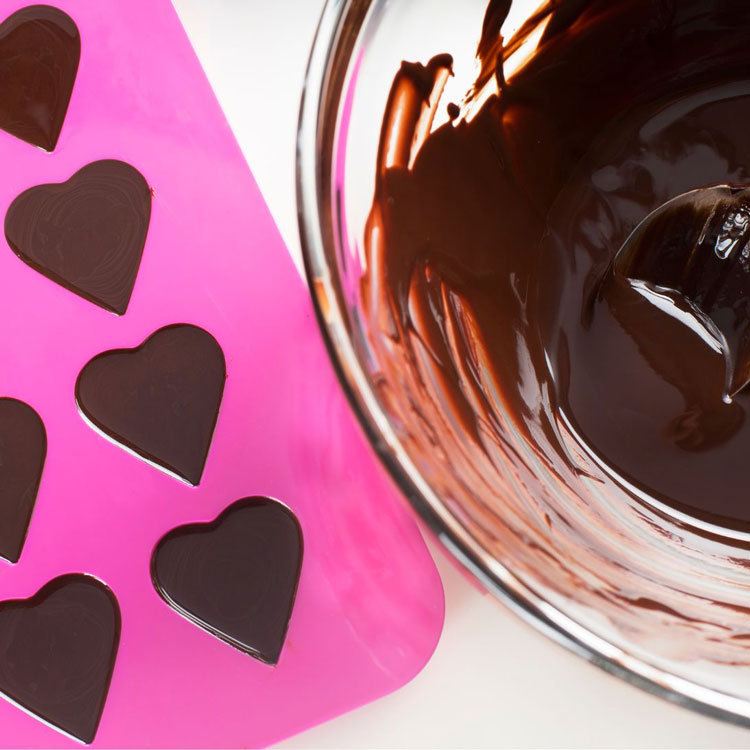
Before starting, it is important to keep in mind that real chocolate and chocolate melts (also known as candy melts, chocolate melting wafers, almond bark, and candy coating) have a low melting point and should be watched carefully to prevent scorching or burning. If you overheat chocolate, it will cook and become lumpy and thick, a process known as seizing. White chocolate and milk chocolate have a lower melting point and will scorch easier than dark chocolate (this includes semisweet and bittersweet chocolate).
Make sure that all your equipment is completely dry before you start melting the chocolate. Any moisture on the utensils, bowls, or pots can cause the chocolate to seize.
Water and steam must be kept away from chocolate and coatings to prevent the chocolate from thickening and streaking when set. It is important to slowly melt the chocolate, stirring often to ensure even melting.
The first step in melting chocolate is to choose the right type of chocolate. Not all chocolate is created equally, and some types of chocolate are easier to melt than others.
Real chocolate contains cocoa butter; while
chocolate melts have an oil base, such as palm kernel oil. Chocolates with a higher percentage of cocoa butter and oil-based candy melts will melt more smoothly than chocolate with less cocoa butter.
For melting, it is best to use high-quality chocolate designed for baking and candy-making, as these are specifically formulated for ease of melting. Avoid using chocolate chips or baking chips as they are formulated to hold their shape and are not ideal for melting chocolate for candy-making.
Chocolate melts are perfect for melting as they are uniform in size. If using a block of chocolate, be sure to chop the chocolate into uniform pieces to ensure even melting.

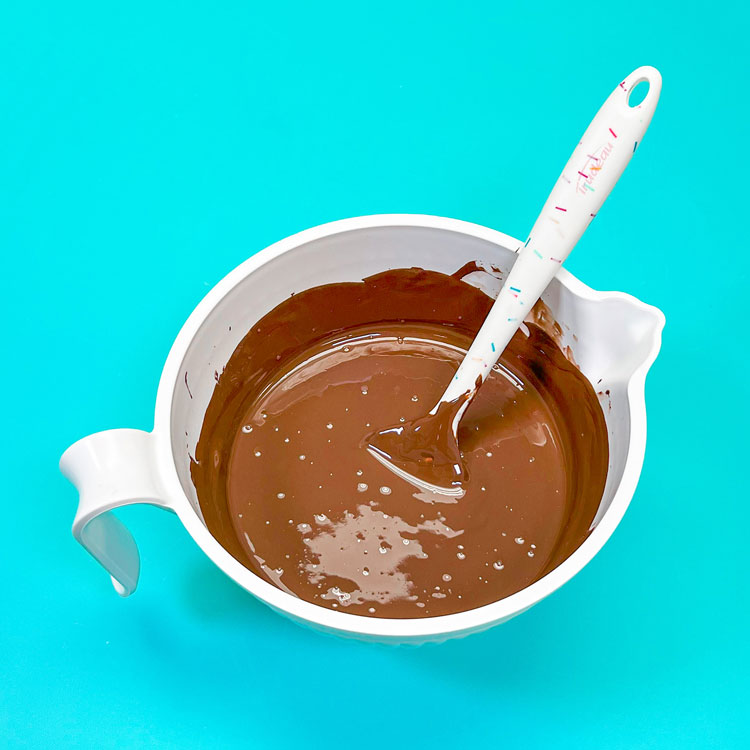
Melting chocolate in the microwave is an easy and convenient way to get your chocolate melted quickly. Always bear in mind that when microwaving chocolate, it is essential not to overheat it. Doing so can lead to a lumpy, unworkable texture. To ensure the best result, be sure to always melt chocolate on 50% power setting, stirring every thirty seconds so that it melts evenly.
Allow time for the heat to work slowly to ensure the chocolate stays smooth and creamy. When selecting a container to melt the chocolate, consider using a microwave-safe plastic bowl. Glass can be used and is convenient because it retains heat and the chocolate will remain warm longer; however, the glass container often gets too hot in the microwave and is more likely to scorch the chocolate.
Directions:
- Place your chocolate wafers in a microwave-safe bowl.
- Microwave for 30-second intervals.
- Stir with silicone or rubber spatula making sure to scrape the bottom.
- Continue microwaving only a few seconds at a time, stirring between each time, until the chocolate is nearly melted (the residual heat will continue melting the chocolate). Remove from microwave and stir until completely melted.
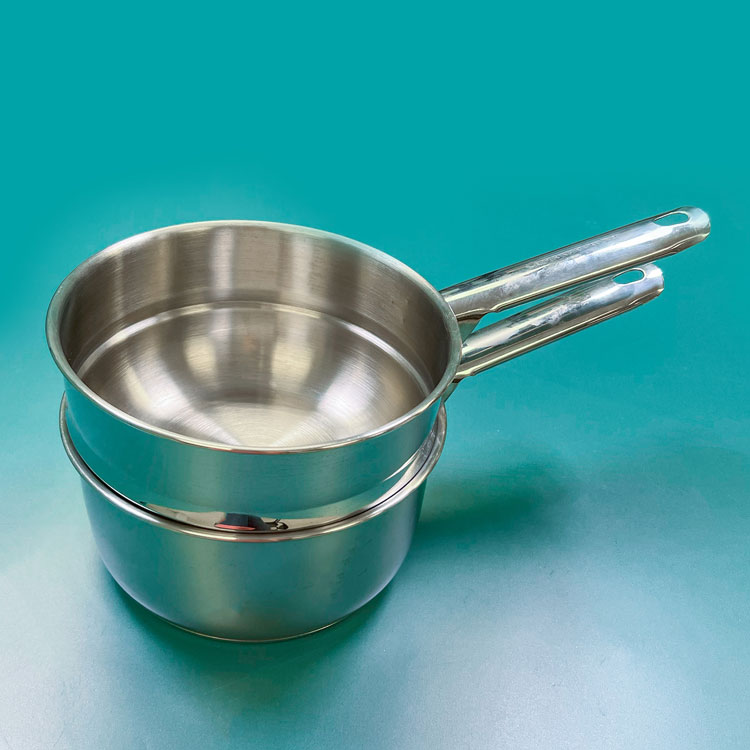
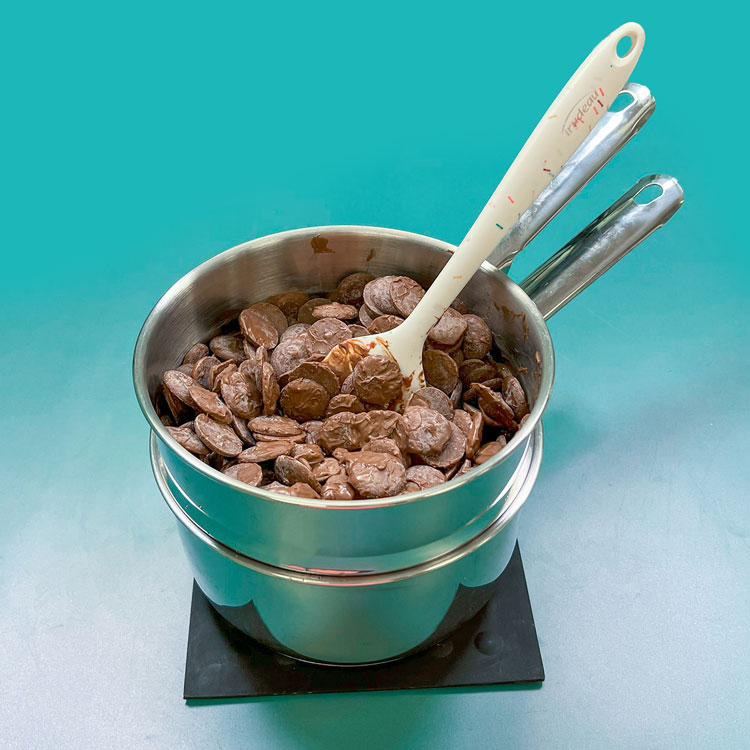
A double boiler is a classic two-part pan used for melting chocolate over indirect heat. The bottom part of the pan contains water, while the top part holds the chopped chocolate or chocolate melts. It is important to be cautious while using a double boiler to prevent the chocolate from coming into contact with water or steam.
Directions:
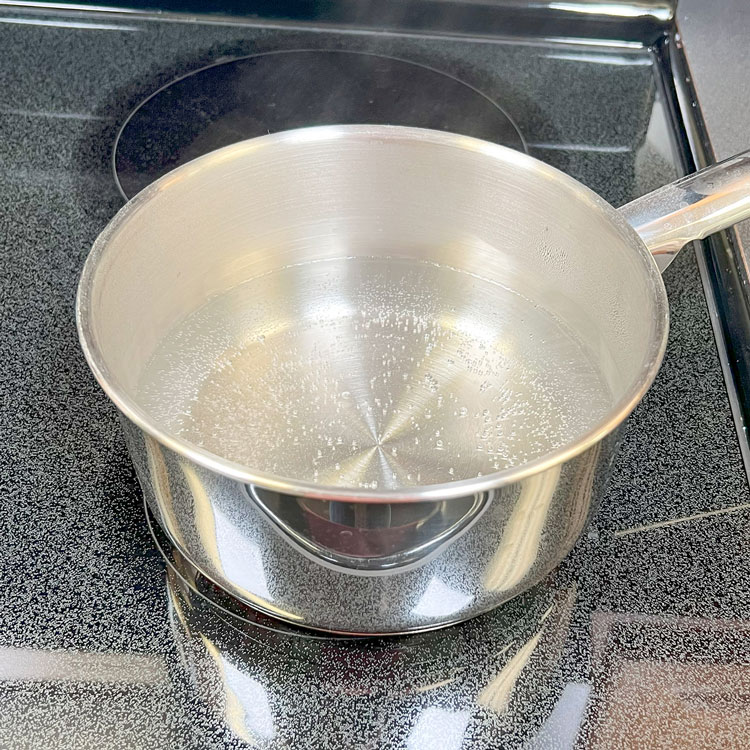
- Put 1-2 inches of water in the bottom pan of the double boiler.
- Bring water to a simmer.
- Take the pan off the stove.
- Place chocolate wafers or coarsely chopped chocolate pieces into the top pan of the double boiler.
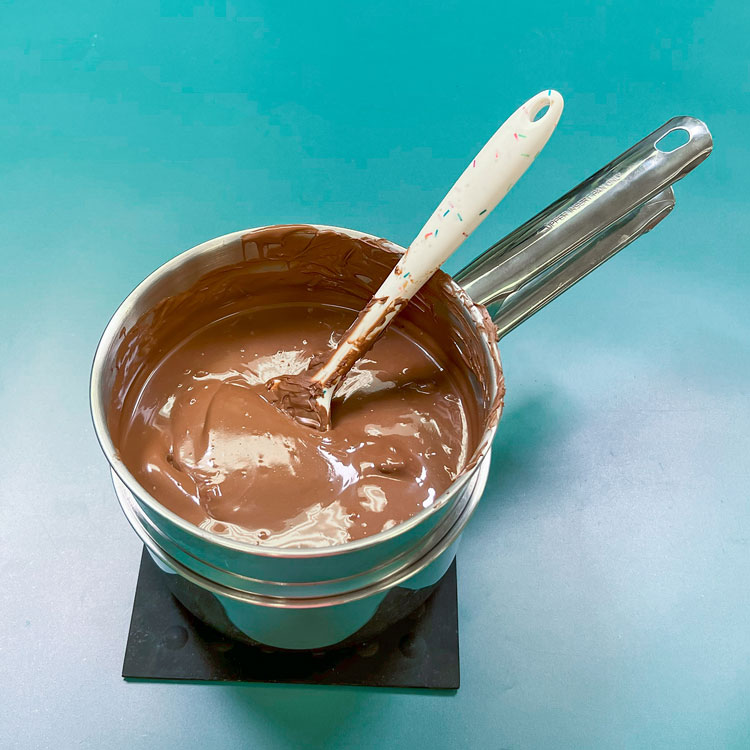
- Place the pan over the bottom pan containing the hot water. Stir until the chocolate is fluid.
If the chocolate starts to set as you are dipping and molding, simply repeat steps 1 and 2 and place the top pan containing the chocolate back onto the heated water.
Important: Never allow the water in the bottom pan to get so hot that it boils or simmers. That would cook and thicken the chocolate instead of melting it. Also, leaving the double boiler with water on the stove with the chocolate can cause the chocolate to scorch and thicken instead of melting smooth and creamy.
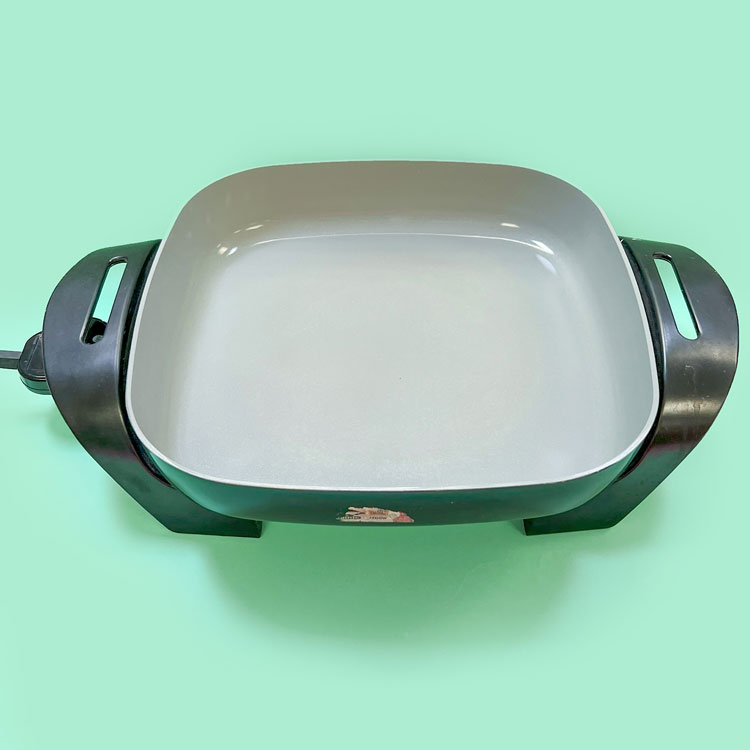
An electric skillet is one of the most fool-proof ways to melt chocolate; however, it is important to ensure your skillet has a low setting (typically around 200 degrees). A major advantage of this method is that you can keep the chocolate fluid the entire time when molding or dipping while the bowl of chocolate is in the electric skillet. The disadvantage is that this method takes the longest out of the four methods.
Directions:
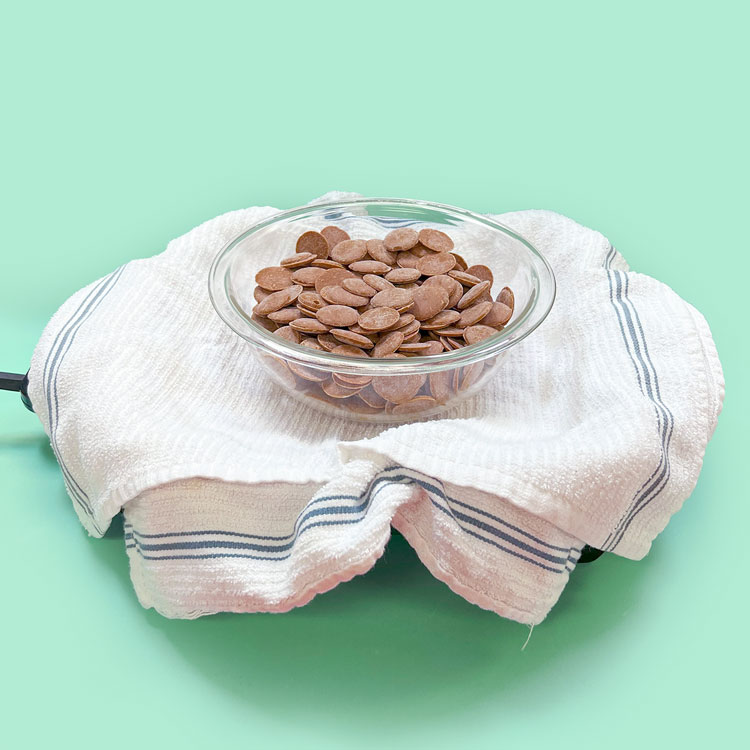
- Line the electric skillet with 4 or 5 dry towels.
- Turn on the electric skillet to its lowest setting.
- Place your chocolate melts or chocolate in a heatproof bowl and set inside your skillet.
- Allow the chocolate to melt on its own for about an hour, stirring every 10 minutes or so.
- If the chocolate has not begun to melt after 20 minutes, turn the heat up a few degrees.
IMPORTANT! Test your electric skillet before using it to melt chocolate. If your skillet is set to low and the towels inside are hot to the touch, then the skillet should not be used.
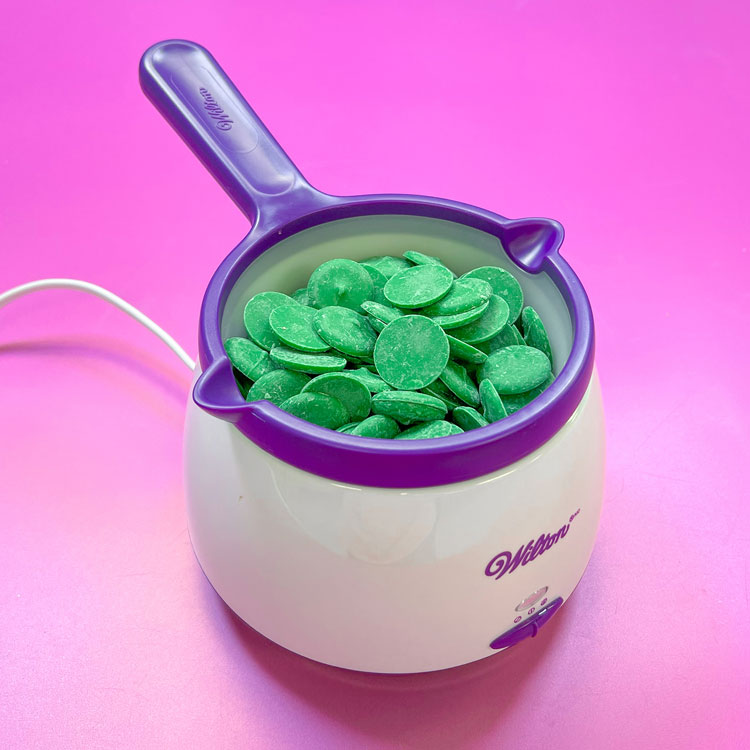
If you need your chocolate to be at a liquid consistency for an extended period, the
Wilton chocolate melting pot is a great option. The melting pot not only melts your chocolate but maintains a constant heat source, so your chocolate remains liquid for as long as you need. It melts up to 2½ cups of chocolate or wafers in about 10 minutes, so you'll be ready to dip and dunk in no time! These pots are designed to use only candy melts or chocolate candy coatings.
Directions:
- Place the chocolate melts inside of the melting pot.
- Turn the pot to the melting setting.
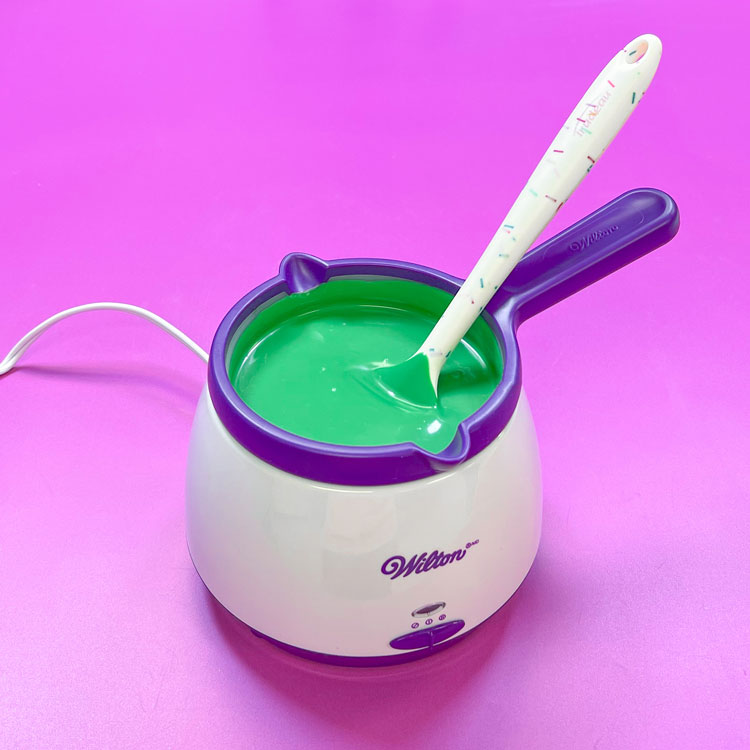
- Stir every few minutes to distribute the heat.
- Once the chocolate is mostly melted switch the pot to the warm setting.
Wilton also offers a
chocolate melting pot with dual insert for melting two colors of chocolate melts at once.
Once you have melted your chocolate, you need to keep it warm and liquid if you plan on dipping or molding. The Wilton Candy Melts Melting Pot does the job for you, simply place it on the warm setting. If you do not have the melting pot, place your bowl or pot of melted chocolate in an electric skillet (follow the directions above for melting using the electric skillet, making sure it is set to low and is lined with towels).
We do not recommend using a slow cooker (or Crockpot- the original brand of slow cooker) to melt your chocolate or to keep your chocolate warm. A slow cooker, even on it's lowest (warm setting), will make the chocolate too hot, instead of warm, and will cause the chocolate to seize, or the chocolate will become too hot to work with. We even tried lining the pot with lots of towels to provide a barrier between the chocolate and the pot and the crock pot was still too hot.
When chocolate or candy melts have gotten too warm, the chocolate will thicken and become lumpy. If your chocolate has gotten too warm, it may or may not be able to be salvaged by thinning the chocolate.
For chocolate melts or candy melts, Paramount Crystals can be added to thin the chocolate. Paramount Crystals are small solid flakes of the same type of oils that are used when manufacturing the candy melts.
Cocoa butter can be added to real chocolate (or chocolate with a cocoa butter or chocolate liquor base).
Melting chocolate can be easy if you follow any of the methods above. Our preferred method for our classes and projects at Country Kitchen SweetArt is the microwave method, as the chocolate melts smoothly and quickly. What is your favorite method?