BWB three-part chocolate molds make it easier to create consistent, glossy chocolates with clean edges and even shells. Whether you’re making hot chocolate bombs, filled bonbons, candy bars, or seasonal shapes, this guide walks you through the full process step-by-step.
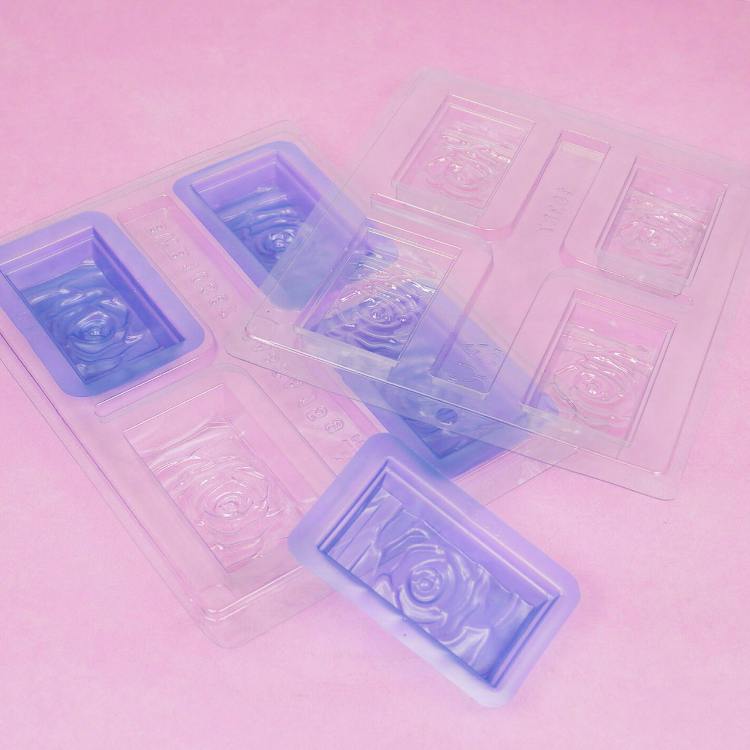
What Are BWB 3-Part Molds?
BWB three-part molds are an innovative style of chocolate mold that include:
- 1 hard outer mold with the cavity shapes
- flexible insert for each cavity (soft plastic)
- 1 matching top piece
Together, these pieces help you:
- Portion chocolate accurately
- Build even chocolate shells
- Demold cleanly with sharp details
- Produce hollow or filled shapes more easily
What You’ll Need
Note: If you are using real chocolate, tempering is required. Please do your research on tempering real chocolate before beginning. Chocolate coating does not need to be tempered.
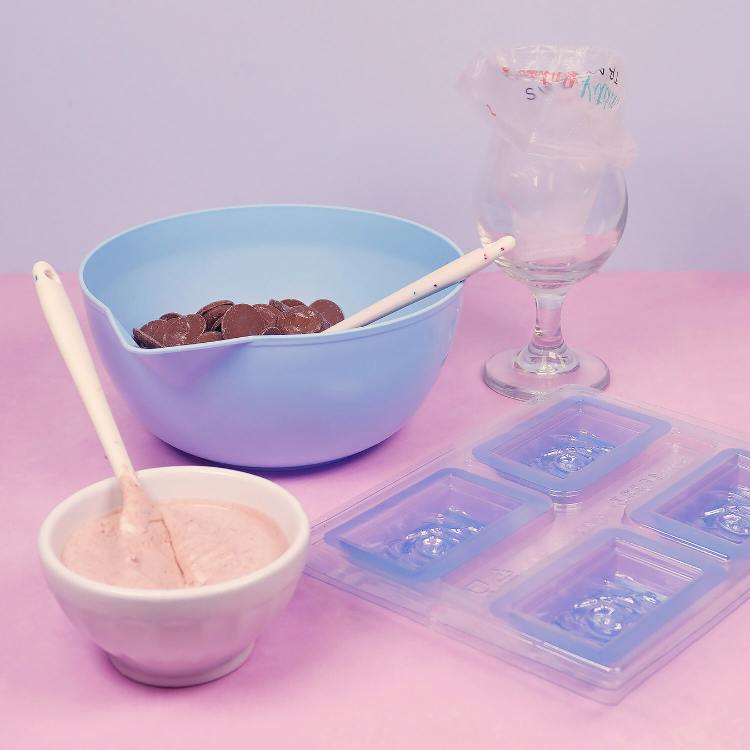
Step 1: Melt & Prepare Your Chocolate
Using Coating Chocolate or Candy Melts
- Microwave in short 30 second intervals.
- Stir well between each interval until smooth.
- Stop heating when the chocolate coating is 90% melted and allow the residual heat to complete the melting process. Your chocolate coating should be fluid. If your chocolate is thick, we recommend adding melted paramount crystals.
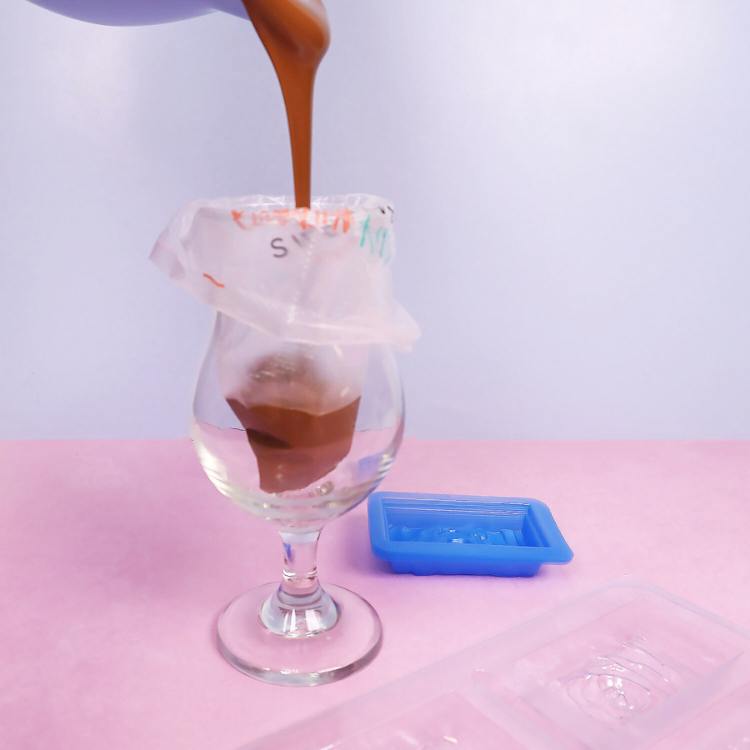
- Add melted chocolate to a piping bag or squeeze bottle for ease of filling molds. A spoon can also be used.
Step 2: Fill the Mold to the Line
- Place the hard outer mold on a flat surface.
- Fill each cavity with melted chocolate up to the indicated fill line.
- Tap the mold gently on the counter to remove air bubbles.
Important: Filling above the line can cause overflow; below the line can leave thin, fragile shells.
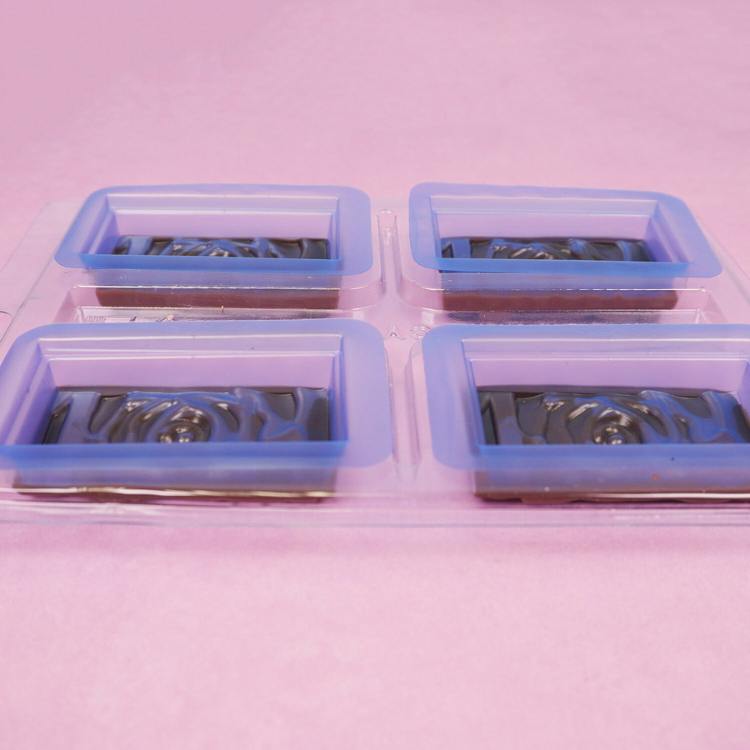
Step 3: Insert the Flexible Liner
- Place the flexible insert directly over the chocolate-filled cavities.
- Check that the insert is level.
- Press down gently so the chocolate rises evenly up the sides.
If any areas look thin or uncovered, gently press on that side and see if this creates the correct coverage. If not, remove the insert, add a bit more chocolate, and press again. This should be unnecessary if the mold was filled to the line.
Step 4: Add the Top Piece
- Align the rigid top piece with the mold.
- Press down lightly to secure the inserts in place.
- Flip the mold over onto a parchment lined tray.
Step 5: Set the Chocolate
- Refrigerate for about 10–20 minutes, or until fully set.
- The freezer may be used, however excessive time in the freezer can cause condensation and sugar bloom.
Chocolates are ready when they look firm and opaque, and you may see them slightly pulling away from the mold.
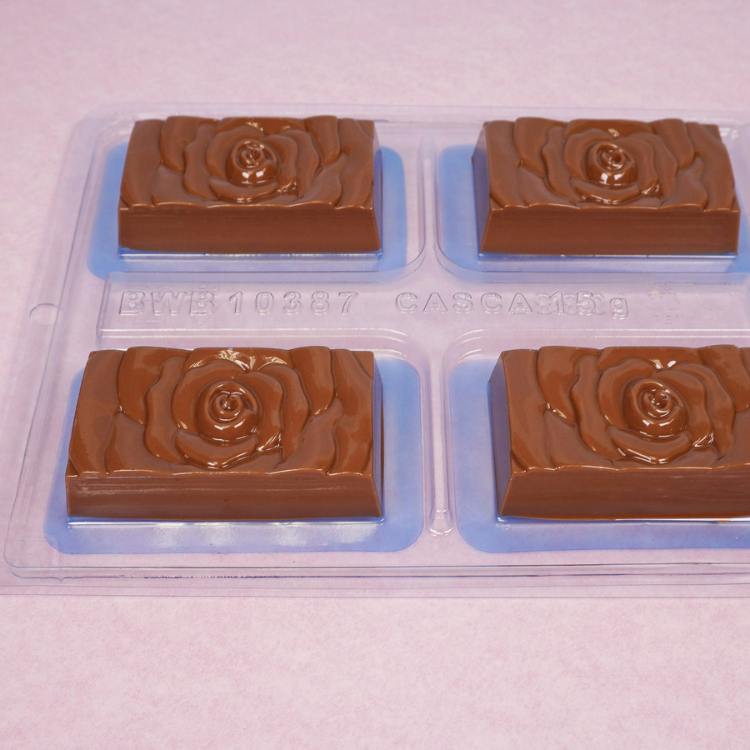
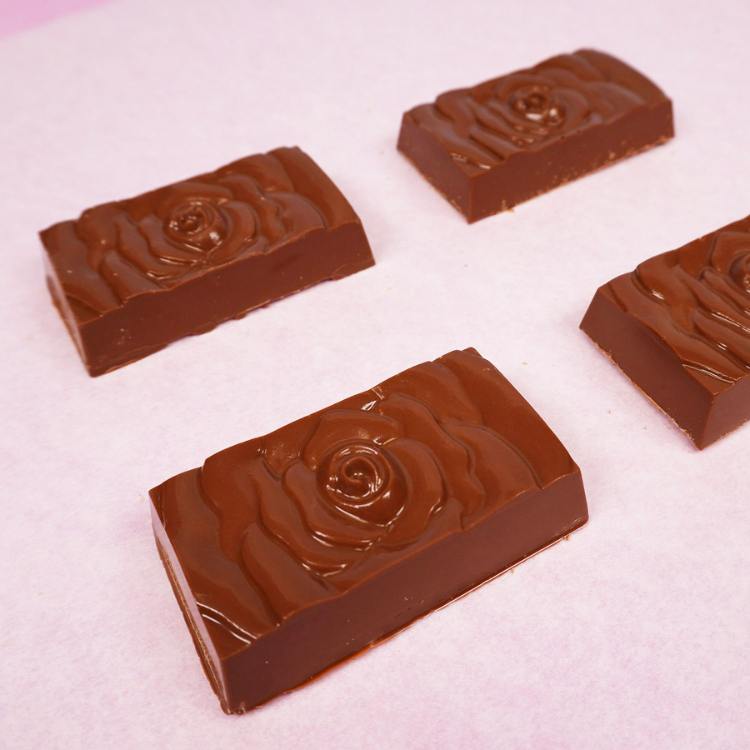
Step 6: Demold
- Remove the top piece.
- Gently lift out the flexible inserts.
- Use a knife to clean the edges of any overspill.
- Turn the rigid mold over and lightly tap or flex it.
Well-set chocolates should release cleanly and have a smooth, shiny surface. Handle with cool, dry hands or gloves.
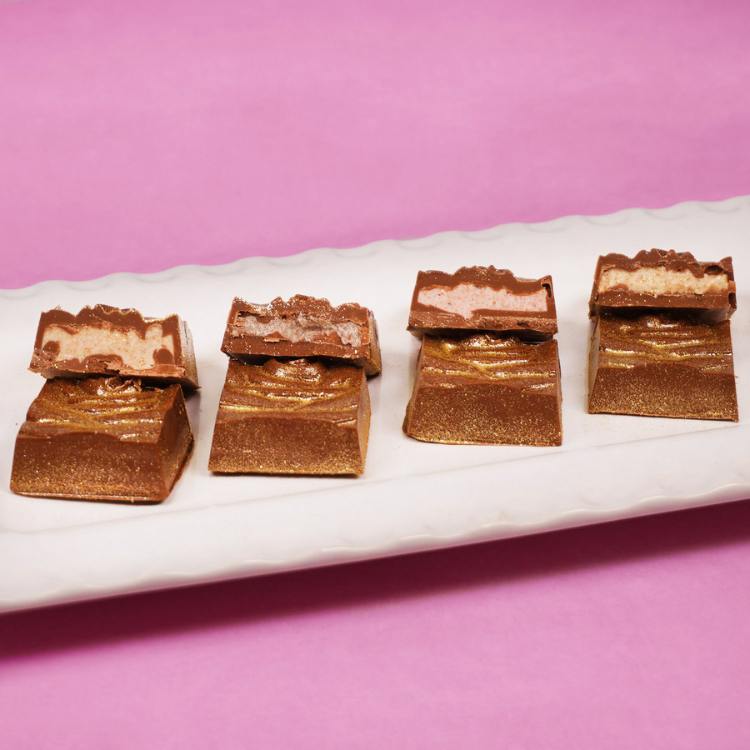
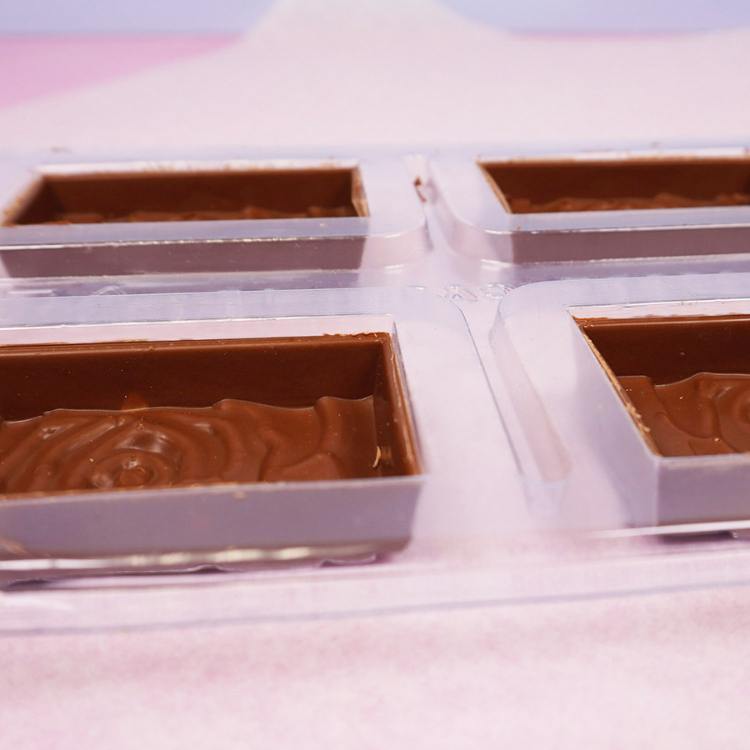
How to Make Filled Chocolates
- Prepare and set your chocolate shells as described above.
- Remove the flexible inserts but leave the shells inside the hard mold.
- Pipe your filling into each shell, leaving a small gap at the top. Important: Use fillings that are room temperature or cooler. Hot fillings can melt the chocolate shell.
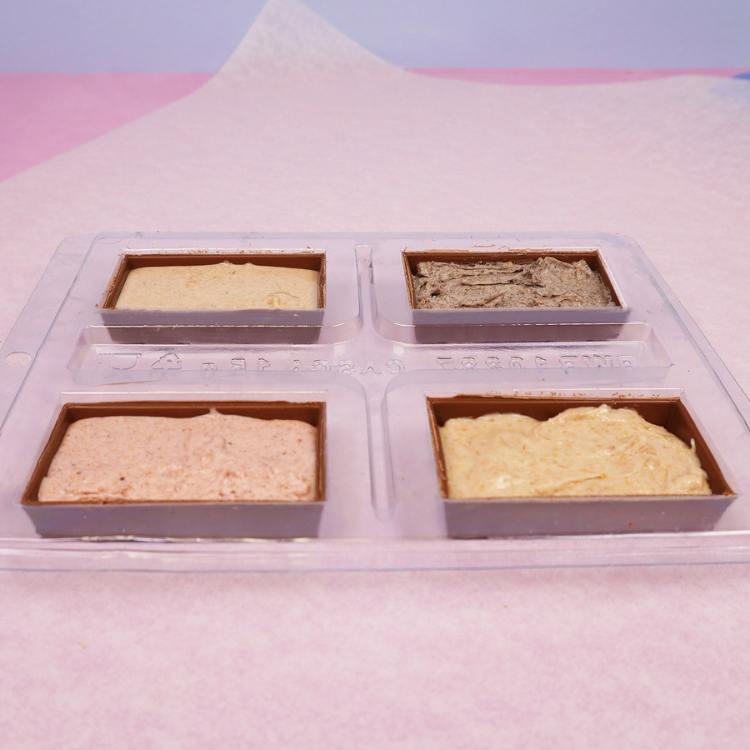
- Cover the filling with melted chocolate to seal.
- Refrigerate again until completely set, then demold.
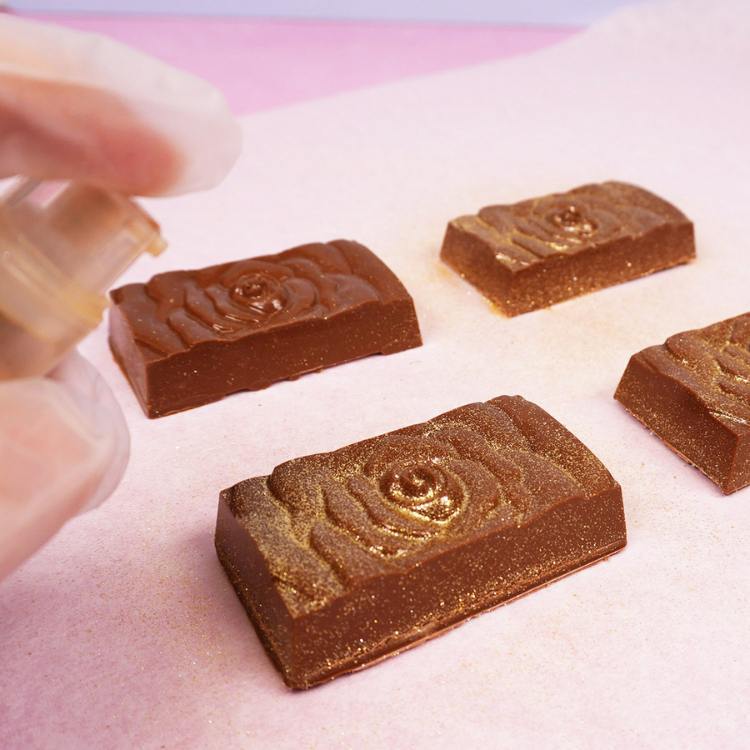
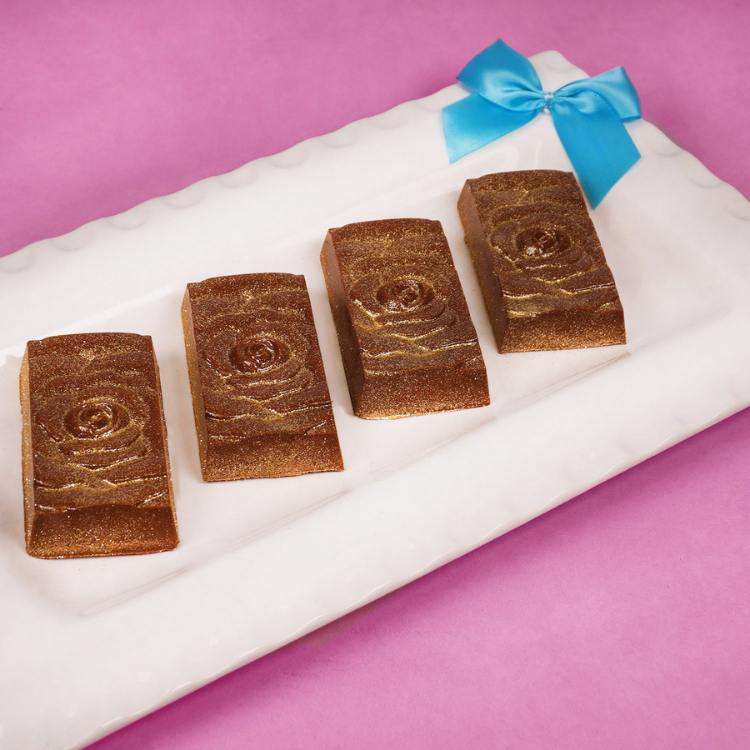
- Decorate your chocolate with edible glitter, shimmer dusts, paint for chocolate, edible markers for chocolate, and more!
Cleaning & Care Tips
- Hand wash only.
- Use mild soap and cool or slightly warm water if needed.
- Avoid abrasive sponges or harsh detergents.
- Dry fully with a soft cloth or air dry.
- Do not use very hot water, which can warp or dull the mold.
- Avoid touching the inside of the cavities with your fingers between uses.
Troubleshooting
Dull or streaky chocolate: Often caused by untempered chocolate, overheating, or moisture.
Thin spots or holes: Not enough chocolate or the insert was not fully pressed down; add a little more chocolate next time before inserting.
Chocolate won’t release: It may not be fully set or properly tempered (if real chocolate was used). Chill longer and review your melting/tempering process.
Final Tips
BWB 3-part molds are designed to take the guesswork out of molding chocolate, giving you consistent results with less mess. Once you’re comfortable with the basics, experiment with colored chocolate coating, marbled shells, layered flavors, and creative fillings to level up your chocolate projects.